Deploying a Next.js App on an Ubuntu Linux Server
This guide covers the deployment of a Next.js application on an Ubuntu Linux server.
While I demonstrate the process using two Vagrant virtual machines on my local machine, the same steps can be applied to a real server, such as setting up an AWS EC2 instance.
If you wish to follow my approach, you can find the Vagrant VM files and a PostgreSQL Bash script setup in this repository.
Let’s get started!
Installing Node.js and Start your Next.js Project
Step 1: Prepare the Server.
SSH into your server and update your package list and install necessary tools:
sudo apt update
sudo apt install ca-certificates curl gnupg git -y
# Install Git if you want to clone a project
Step 2: Install node js
You can specify a particular Node.js version by changing the NODE_MAJOR variable. In this guide, we’ll use Node.js 18
sudo mkdir -p /etc/apt/keyrings
curl -fsSL https://deb.nodesource.com/gpgkey/nodesource-repo.gpg.key | sudo gpg --dearmor -o /etc/apt/keyrings/nodesource.gpg
NODE_MAJOR=18
echo "deb [signed-by=/etc/apt/keyrings/nodesource.gpg] https://deb.nodesource.com/node_$NODE_MAJOR.x nodistro main" | sudo tee /etc/apt/sources.list.d/nodesource.list
sudo apt update
sudo apt install nodejs -y
To check the Node.js and npm version, run:
node -v
npm -v
Step 3: Set Up Your Next Js Project
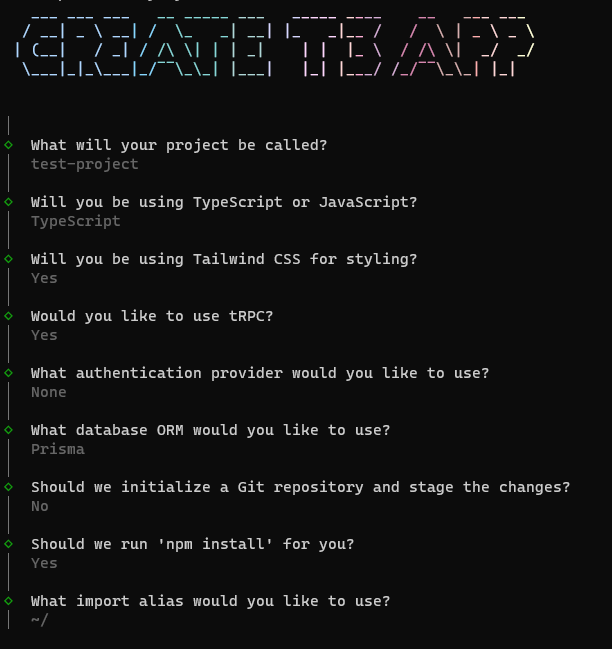
So I will be setting up a t3 stack Project which is Next js with tailwind Css, Trpc and Prisma, and Im going to call it test-project.
You can create a Next.js project of your own or clone an existing repository.
If you are new to the T3 stack, you can learn more by visiting the T3 stack documentation
npm create t3-app@latest
cd test-project
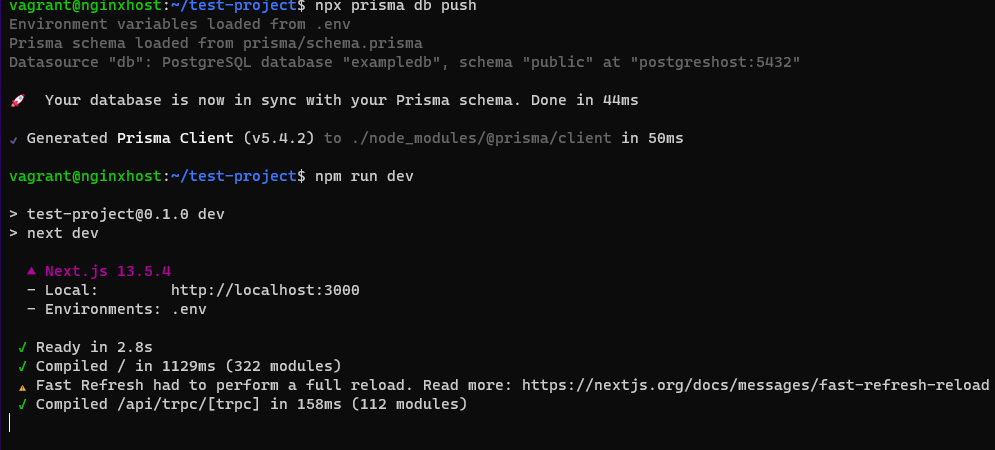
To verify that everything is working, run your project in development mode:
npm run dev
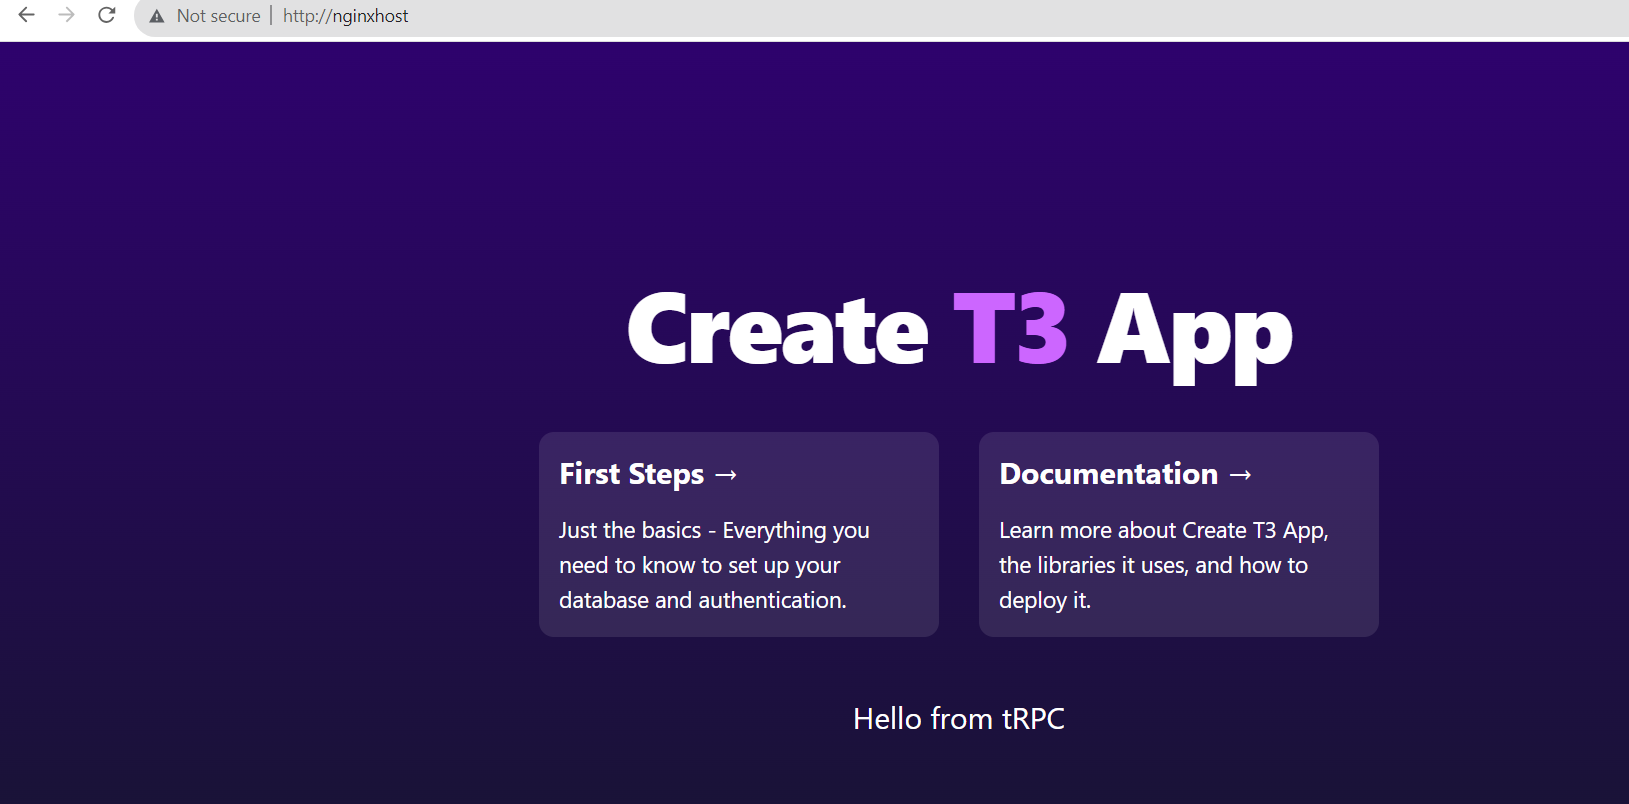
If you are using Vagrant VMs from VagrantFile from my repo as I am, your URL may resemble something like http://nginxhost:3000 when viewed from your local machine’s browser, If not your url should look like this http://your_hostname_or_ip_address.
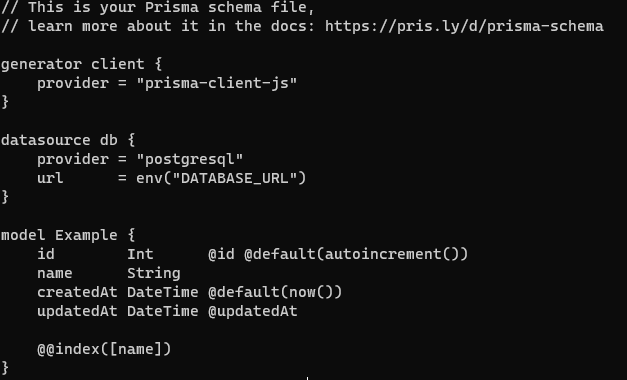
If you are using Prisma as your ORM, remember to configure the database URL in your environment variables and update the schema.prisma file to use “postgresql” as the data source provider(If you are not using prisma skip this).
DATABASE_URL=postgresql://user:password@host:5432/database_name
Step 4: Build and Deploy
In your project directory, run the following commands.
Build your project and start it with these commands:
npm run dev
npm start #to test everything is okay
For production deployment, install PM2:
sudo npm install -g pm2
pm2 start "npm run start" --name "test-project"
# Check if running
pm2 ls
Your app should now be running on port 3000.
Install and configure nginx
Install Nginx and start it:
sudo apt install nginx -y
sudo systemctl start nginx
sudo systemctl status nginx
Next, edit the default Nginx configuration by opening the file /etc/nginx/sites-available/default and replace the existing location block with this one:
location / {
                proxy_pass             http://127.0.0.1:3000;
                proxy_read_timeout     60;
                proxy_connect_timeout  60;
                proxy_redirect         off;

                # Allow the use of websockets
                proxy_http_version 1.1;
                proxy_set_header Upgrade $http_upgrade;
                proxy_set_header Connection 'upgrade';
                proxy_set_header Host $host;
                proxy_cache_bypass $http_upgrade;
        }
After making this change, restart Nginx:
sudo systemctl restart nginxThat’s it! Nginx uses port 80 by default, so you can now access your app at _ http://your_host_name_or_ip_address._

Alternative Deployment Methods
While this guide demonstrates a manual deployment process, it’s important to note that there are more automated and efficient methods for deploying applications, especially for production environments. Tools like Continuous Integration and Continuous Deployment (CI/CD) pipelines can streamline the deployment process, ensuring faster and more reliable releases.
This guide serves as a starting point, but there are many advanced deployment strategies to explore to suit your specific needs.
I created this guide primarily for my own learning and documentation. As I explore new technologies and deployment methods, I find it valuable to document my experiences. My hope is that this guide may also be helpful to others who are on a similar learning journey.